The TV wall is the most looked-at wall in the house. It faces the sofa. It anchors the living room. Every person who walks into the room sees it. And in most Australian homes, it is a flat painted surface with a black rectangle mounted on it.
A textured feature wall behind the TV changes the entire room. The screen stops looking like something stuck to the wall and starts looking like it belongs there, framed by a surface with depth, shadow, and material quality. It is one of the simplest renovations you can do with the biggest visual payoff.
Why texture works behind a TV
The TV is a hard, reflective, technological object. It needs contrast. Surrounding it with more hard, flat, featureless surface (white plasterboard) makes the whole wall feel cold. Textured panels introduce warmth, depth, and a tactile quality that softens the technology and makes the room feel more considered.
Embossed panels also play well with the lighting in a living room. Side-lighting from floor lamps or wall sconces rakes across the textured surface and creates shadow patterns that change through the day. Even when the TV is off, the wall looks interesting. That is the difference between a TV wall and a feature wall.
And practically, the panels hide imperfections. If your wall has old nail holes, patched plasterboard, or uneven paint, the textured panels go straight over the top. No need to repair the surface underneath.
Planning your TV feature wall
Full wall vs partial panel
The most impactful approach is floor to ceiling, wall to wall. This turns the entire wall into a textured surface and the TV sits within it rather than on top of it. It feels architectural and intentional.
If your living room has a fireplace on the same wall as the TV, or built-in shelving, you may want to panel just the section behind the TV. In that case, define clear edges. Run the panels from floor to ceiling but stop at the edge of the shelving or fireplace surround. Clean vertical edges look designed. Panels that stop at random heights look unfinished.
TV mounting through panels
Yes, you can wall-mount a TV directly through embossed panels. The bracket bolts through the panel into the wall studs behind. Here is the process:
- Locate your studs before installing panels. Mark the stud positions on the ceiling and floor so you can find them again after the panels are up.
- Install the panels. Construction adhesive plus pin nails, same as any other room.
- Mark your bracket position. Use a stud finder to verify the studs through the panel, then mark your drill points.
- Pre-drill and mount. Drill through the panel and into the stud. The bracket bolts go through both layers. The panel thickness (typically 16mm to 18mm for MDF) adds minimal depth and does not affect the bracket's holding power.
Plan your cable routing before installing the panels. Drill a 50mm hole behind where the TV will sit and another at skirting level. Run your HDMI, power, and other cables through the gap between the panel and the wall. The result is a completely clean wall with no visible cables.
Soundbar and shelf integration
If you use a soundbar, you have two options. Mount it below the TV using the same stud-fixing approach, or place it on a floating shelf that is also fixed through the panel. Floating shelves on a textured wall look particularly good because the texture provides a visual backdrop that makes the shelf appear more deliberate.
Best patterns for TV walls
The TV wall pattern needs to add texture without creating visual noise that competes with the screen. Subtlety is key. Here are the three patterns that work best.

American Oak is the safest and most popular pattern for TV walls. The long timber grain runs vertically or horizontally (your choice) and creates a warm backdrop that complements every interior style. It reads as natural timber without the cost or maintenance of real timber cladding.
In warm white or soft grey, it adds just enough texture to make the wall interesting without pulling attention from the screen. In darker tones (charcoal, navy), it creates a cinema-like enclosure that makes the TV feel immersive.

Matrix turns the TV wall into an architectural feature. The geometric grid pattern frames the TV in clean, repeating lines that make the whole wall feel engineered and intentional. It is the pattern for living rooms that are already modern and minimal.
Painted in a single matte colour, the grid creates subtle shadow lines that add depth without visual clutter. The repeating pattern also helps the eye read the wall as a unified surface rather than a collection of individual panels.

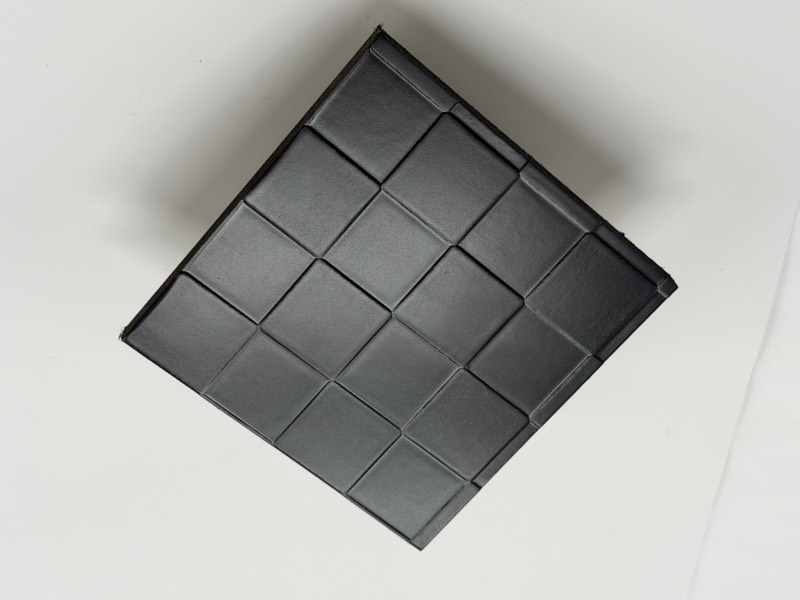
Checkers brings a quiet geometric rhythm that is strong enough to be a feature but restrained enough to sit behind a TV without overwhelming the room. It suits living rooms that need personality without drama.
The repeating square pattern works well at scale. On a large wall, it creates a textured surface that feels intentional from across the room and reveals its detail up close. Two-tone colour treatments (alternating squares in slightly different shades) add an extra layer of visual interest.
See how these patterns look on your wall
Request free coaster samples of up to three patterns. You only pay $25 flat rate postage.
Request Free SamplesColour and finish for TV walls
The colour of your TV wall sets the tone for the entire living room. Here are the most effective approaches.
- Warm whites and light greys are the most versatile. They brighten the room, let the texture do the work, and complement any sofa, rug, or flooring colour. This is the go-to for open-plan spaces where the TV wall is visible from the kitchen and dining area.
- Dark tones (charcoal, matte black, deep navy) create a cinema effect. The dark surface absorbs light around the TV, reducing reflections and making the screen feel more immersive. This works best in dedicated media rooms or living rooms with controlled lighting.
- Accent colours (olive, terracotta, dusty blue) make the TV wall a colour statement as well as a texture statement. The embossed surface prevents the colour from reading as flat paint, giving it depth and character that a painted plasterboard wall cannot match.
Use a matte or low-sheen finish to minimise glare reflections from the TV. High-gloss finishes can bounce light from the screen back into your eyes, which defeats the purpose of a dark or textured wall.
Preview any colour on any pattern using the M-Bossed AI Colour Studio before you commit.
Sizing and installation
M-Bossed cuts panels to your exact wall dimensions at no extra cutting charge. For TV walls, measure the full width and height, then decide whether you want full-wall coverage or a defined panel zone.
Installation is the same straightforward process: construction adhesive, pin nails, fill, sand, paint. A standard living room wall (3600mm wide x 2400mm high) typically requires three to four panels and can be installed in a single day.
Allow 5 to 7 business days for production and delivery. Panels are embossed on the Gold Coast and ship Australia-wide. If you are coordinating with a TV installation or a broader living room renovation, get in touch early to lock in timing.
Bringing it together
A textured TV wall is one of the highest-impact, lowest-effort upgrades you can make to a living room. No demolition, no plumbing, no electrical work. Just panels fixed to the wall, painted, and ready to transform the room.
Start by ordering free coaster samples of up to three patterns (you pay $25 flat rate postage). Hold them against your TV wall under your living room lighting and see how the texture reads from the sofa. The right pattern will be obvious once you see it in context. For a guide to all six patterns, read our pattern selection guide.